Translations on Wafrn, and how to contribute
Wafrn is slowly working on internationalization, or more specifically translatable strings. Whilst many parts of the UI are still untranslated, we've been slowly building a set of strings to translate. Said strings can be viewed on Codeberg.
At the time of writing, we have an English and a Polish translation. The English translation should be used as reference; When we add strings, they are added to the English translation first.
Getting started with translating is pretty easy. If you know your way around Git and GitHub, GitLab, Codeberg and similar sites already, just send us a PR with your strings in a file named after the country code.
If you don't know your way around Git and Codeberg yet, here's the quick-start guide:
-
Sign up for CodeBerg at https://codeberg.org/, then visit https://codeberg.org/wafrn/wafrn and look for the "fork" option/button.
-
It will ask you some questions, but these can all be left as the default really.
-
It will load, then redirect you to a page like
https://codeberg.org/YOURUSERNAME/wafrn. -
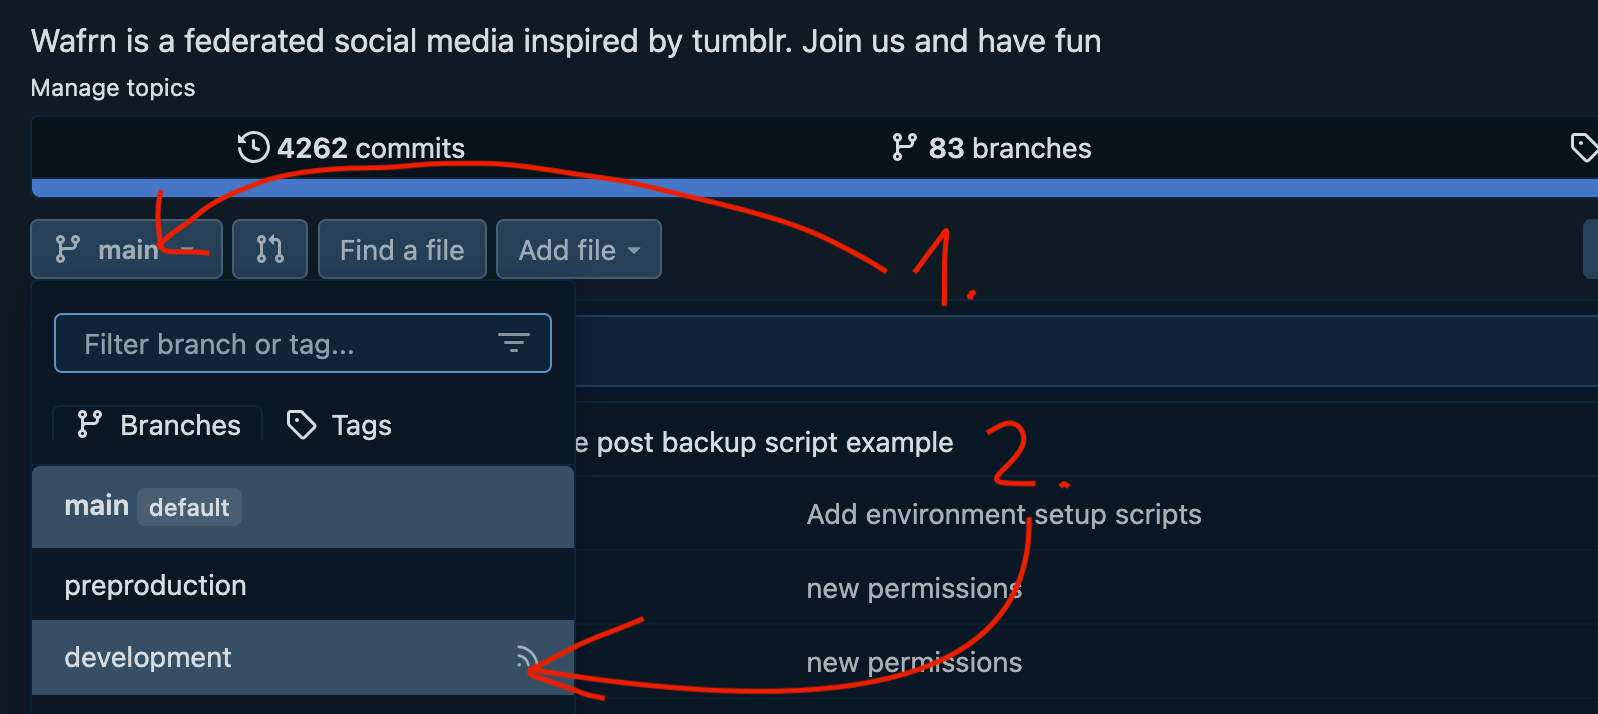
Here first select the "development" branch which contains the latest translations.
- From here, navigate to
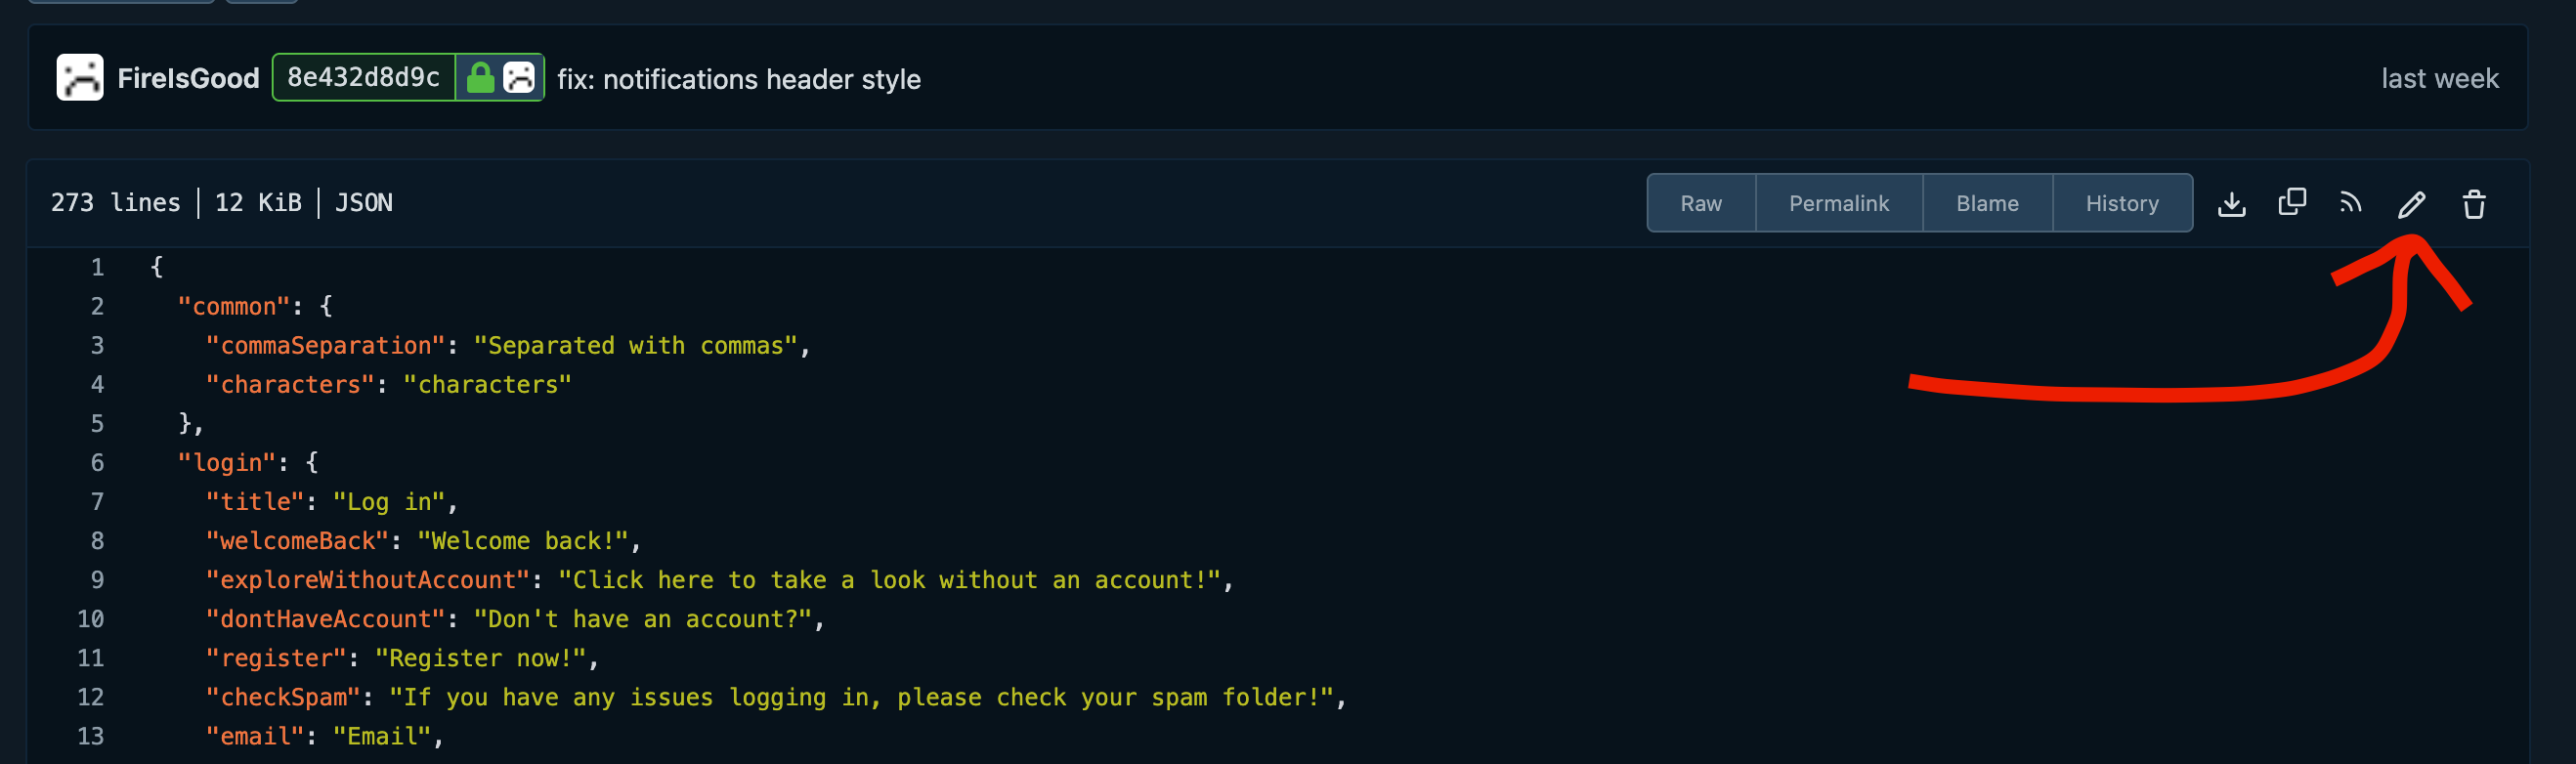
packages/frontend/src/assets/i18nwhere you will see the different language files.
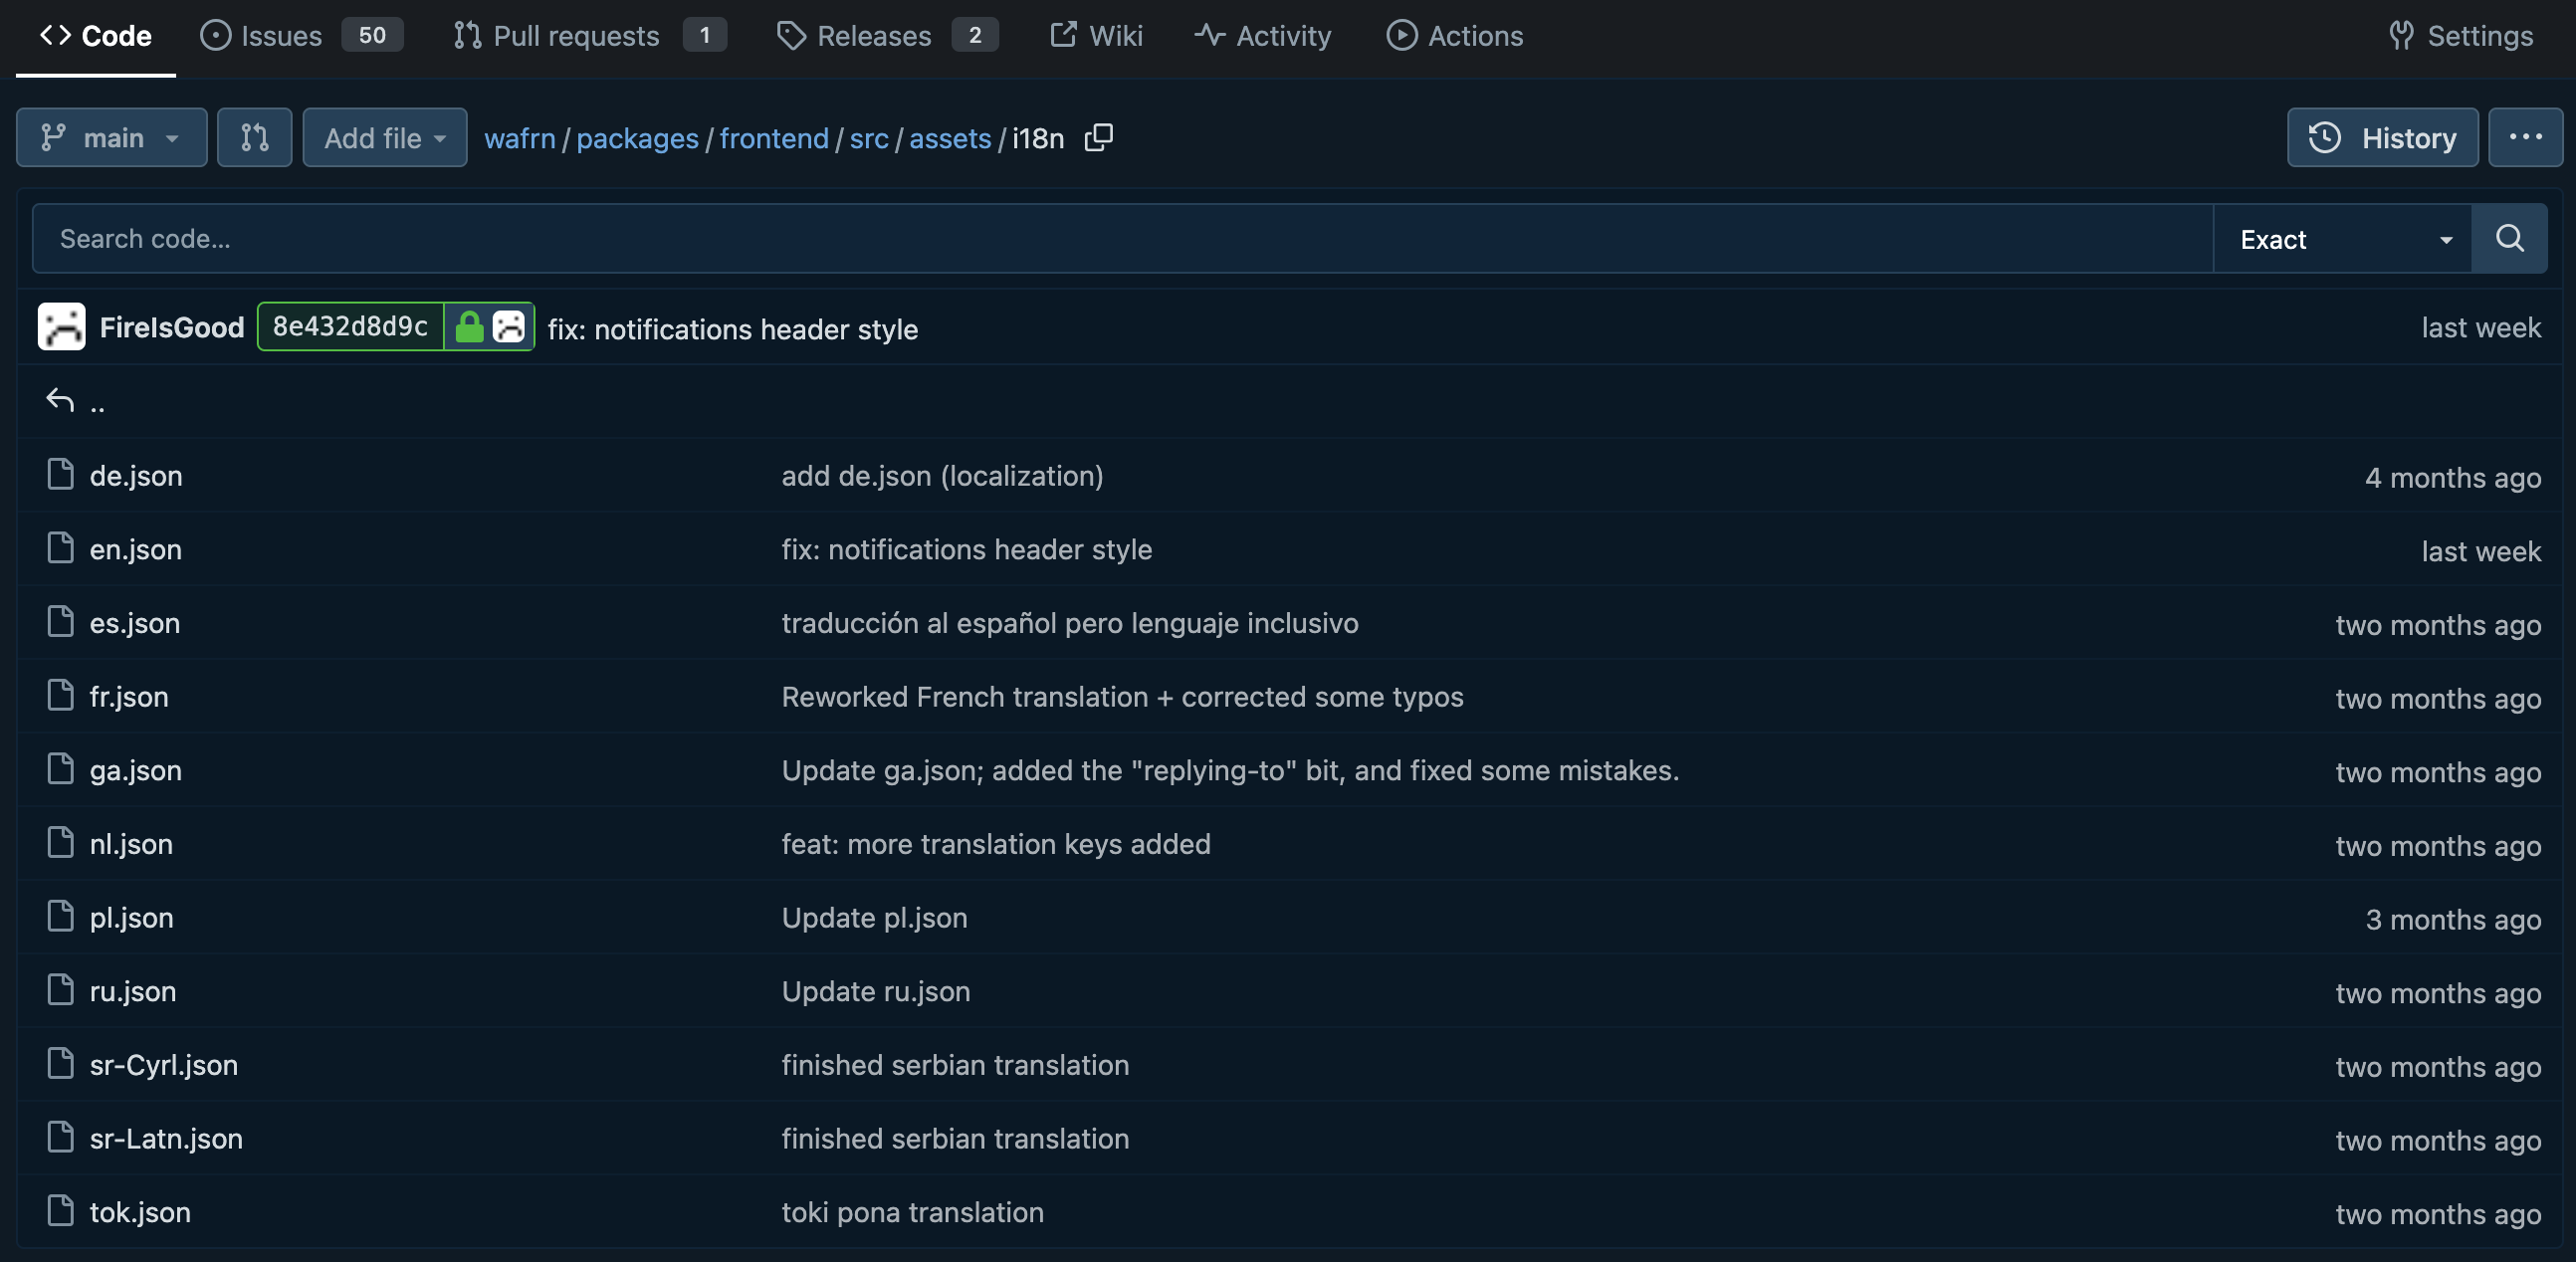
- Click on
en.json, and once it has opened press the download button.

-
On your computer rename
en.jsonto your country's 2-letter language code. -
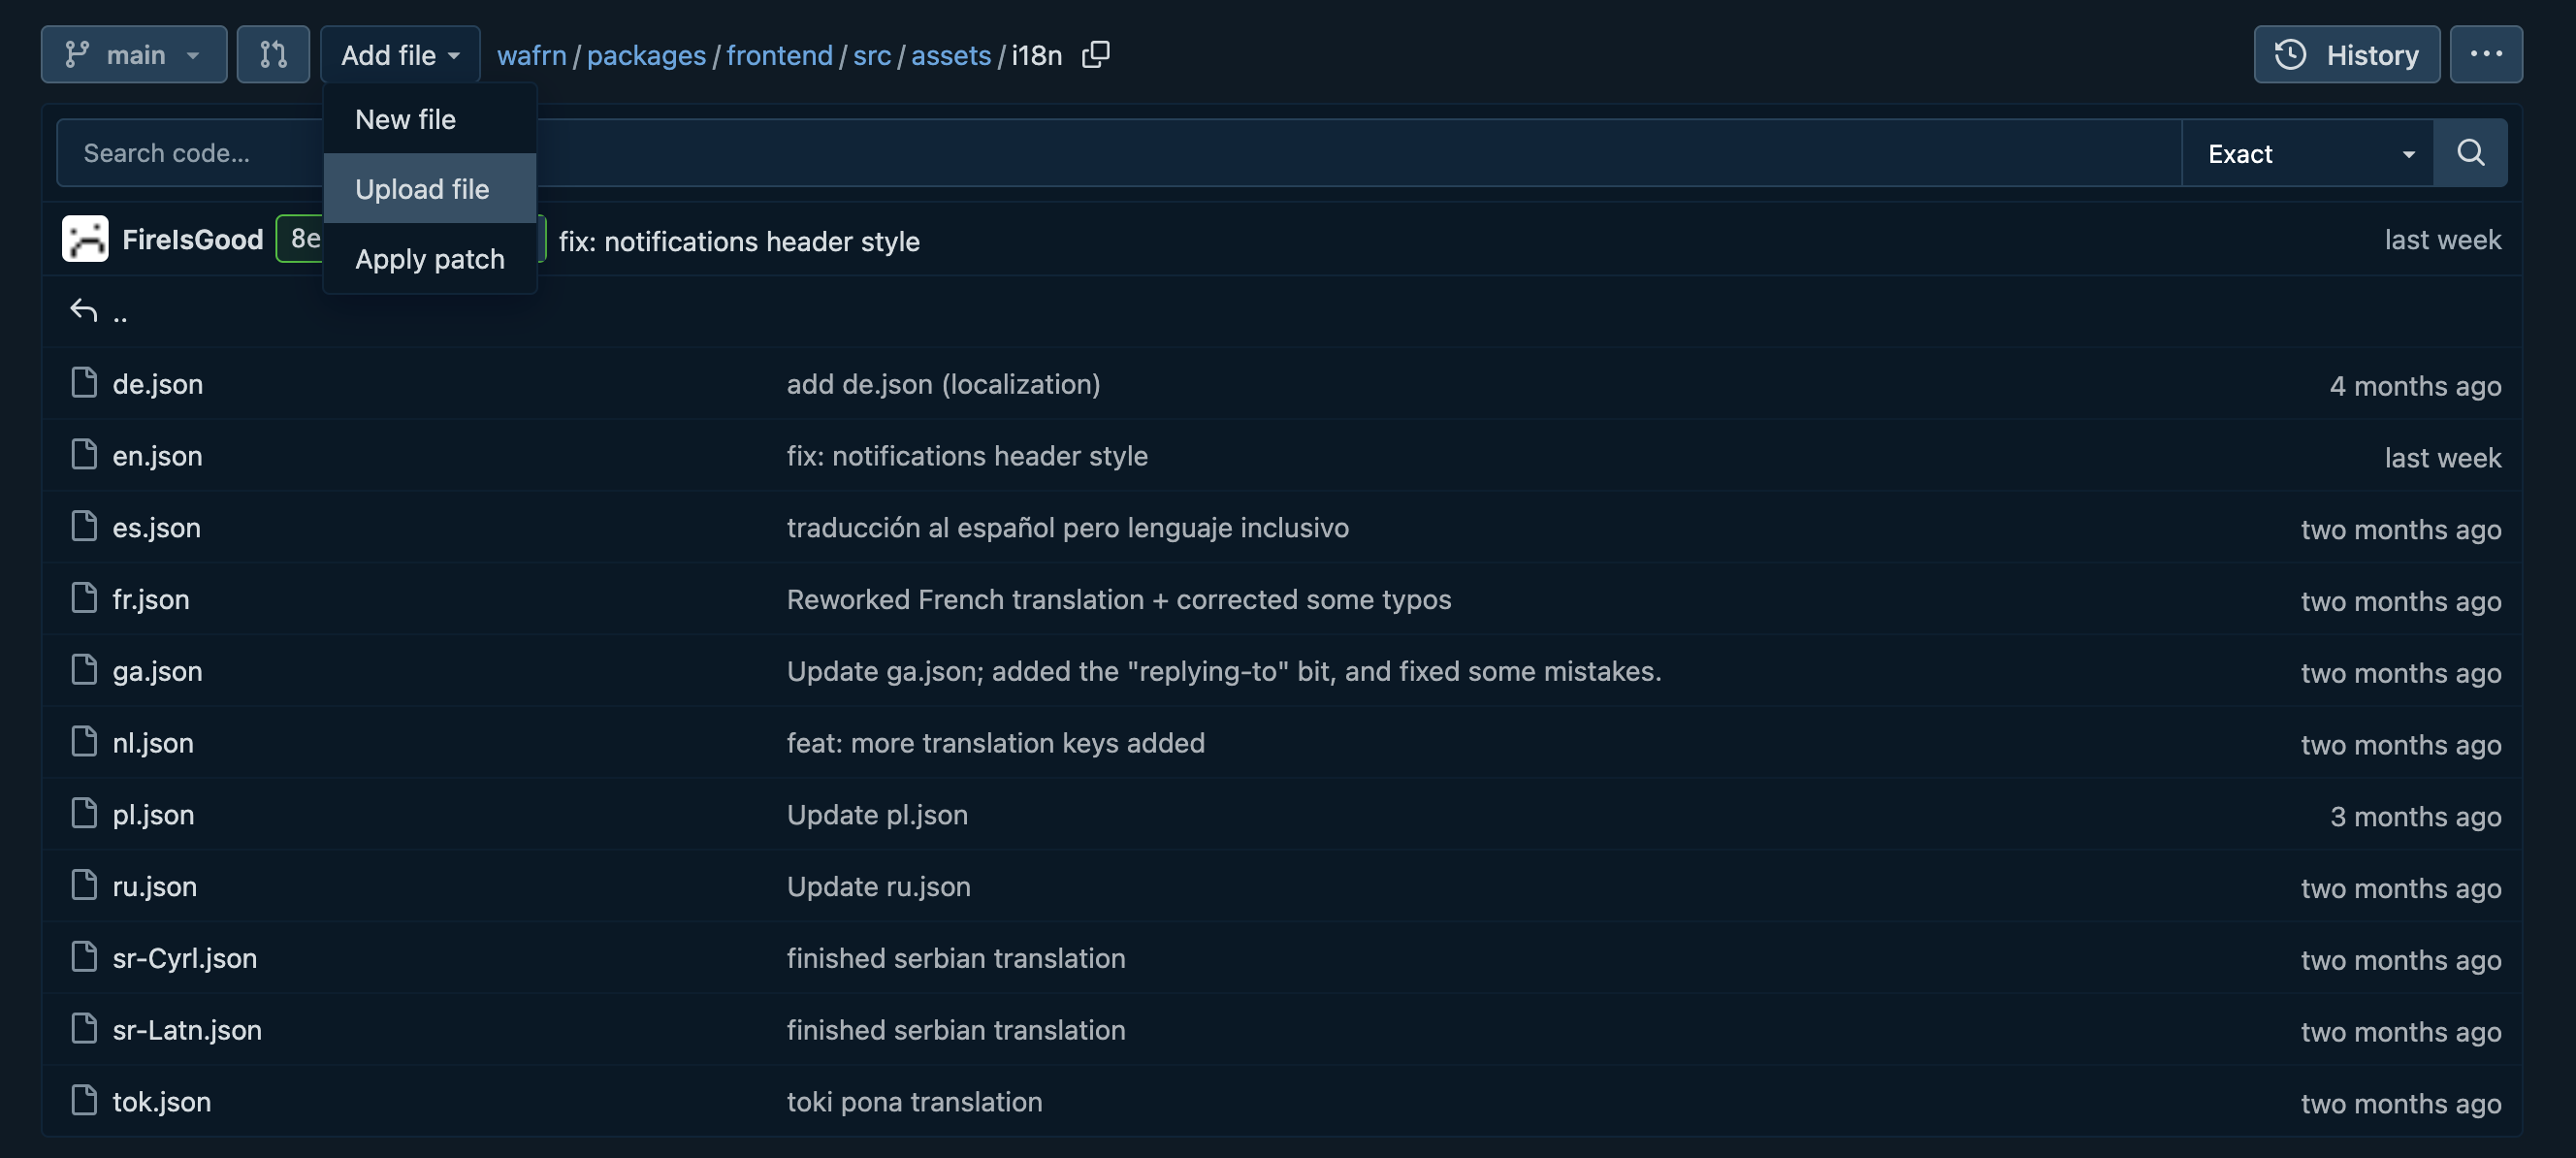
Go back to
packages/frontend/src/assets/i18non Codeberg, then click "Add File", and "Upload file".
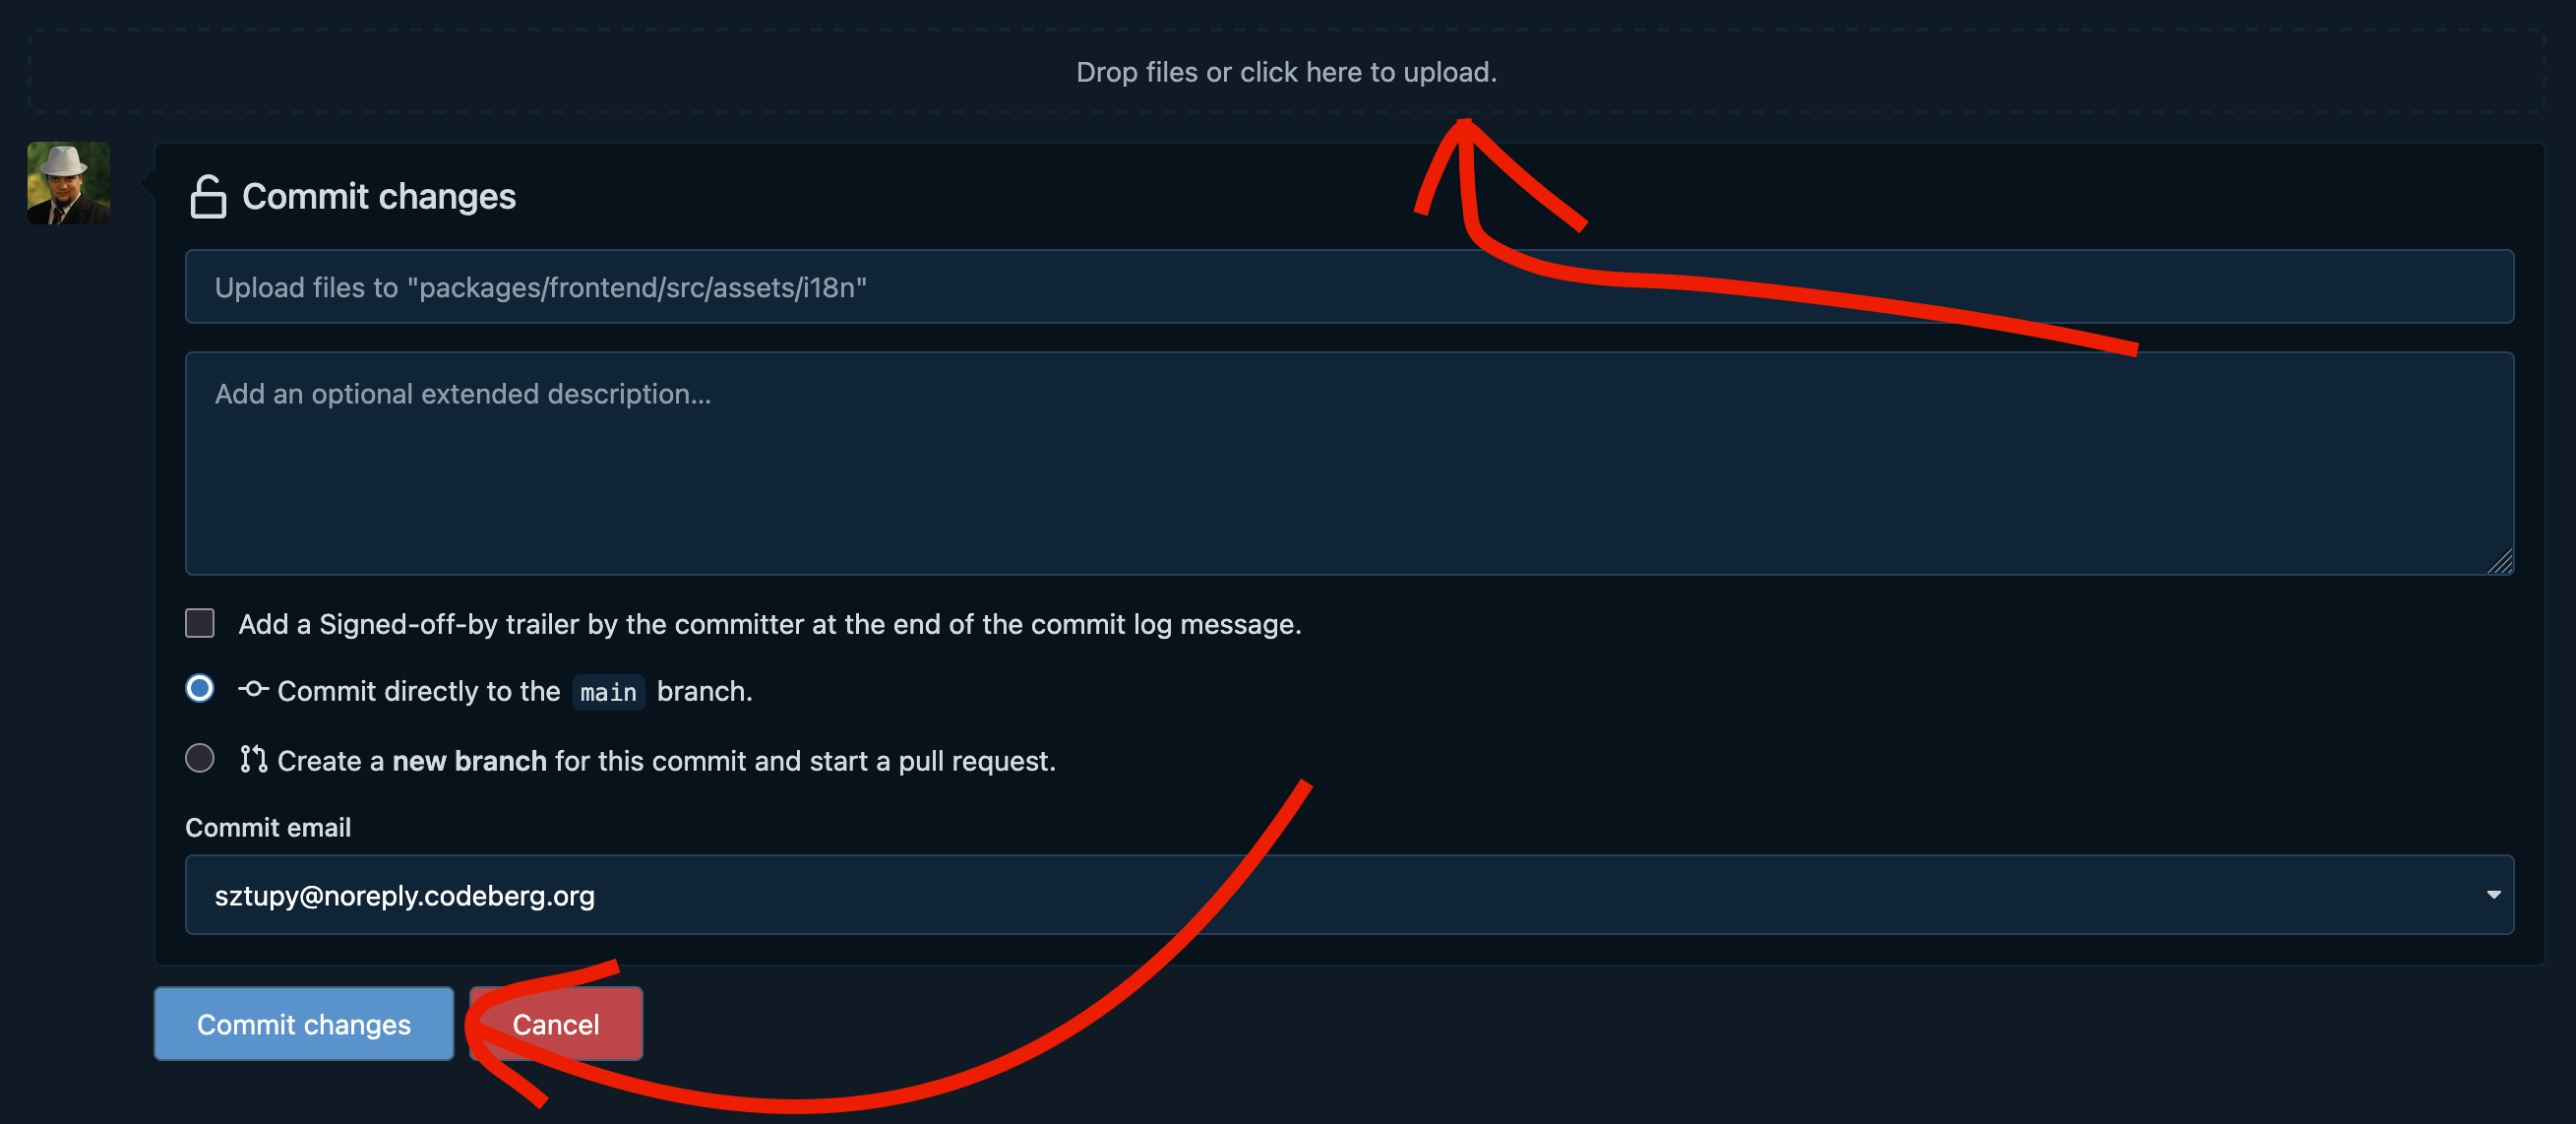
- On the next page upload your new file at the top, then click "Commit changes" at the bottom
- Go back to
packages/frontend/src/assets/i18non Codeberg again, click your freshly uploaded file, then press the "Edit file" icon.
-
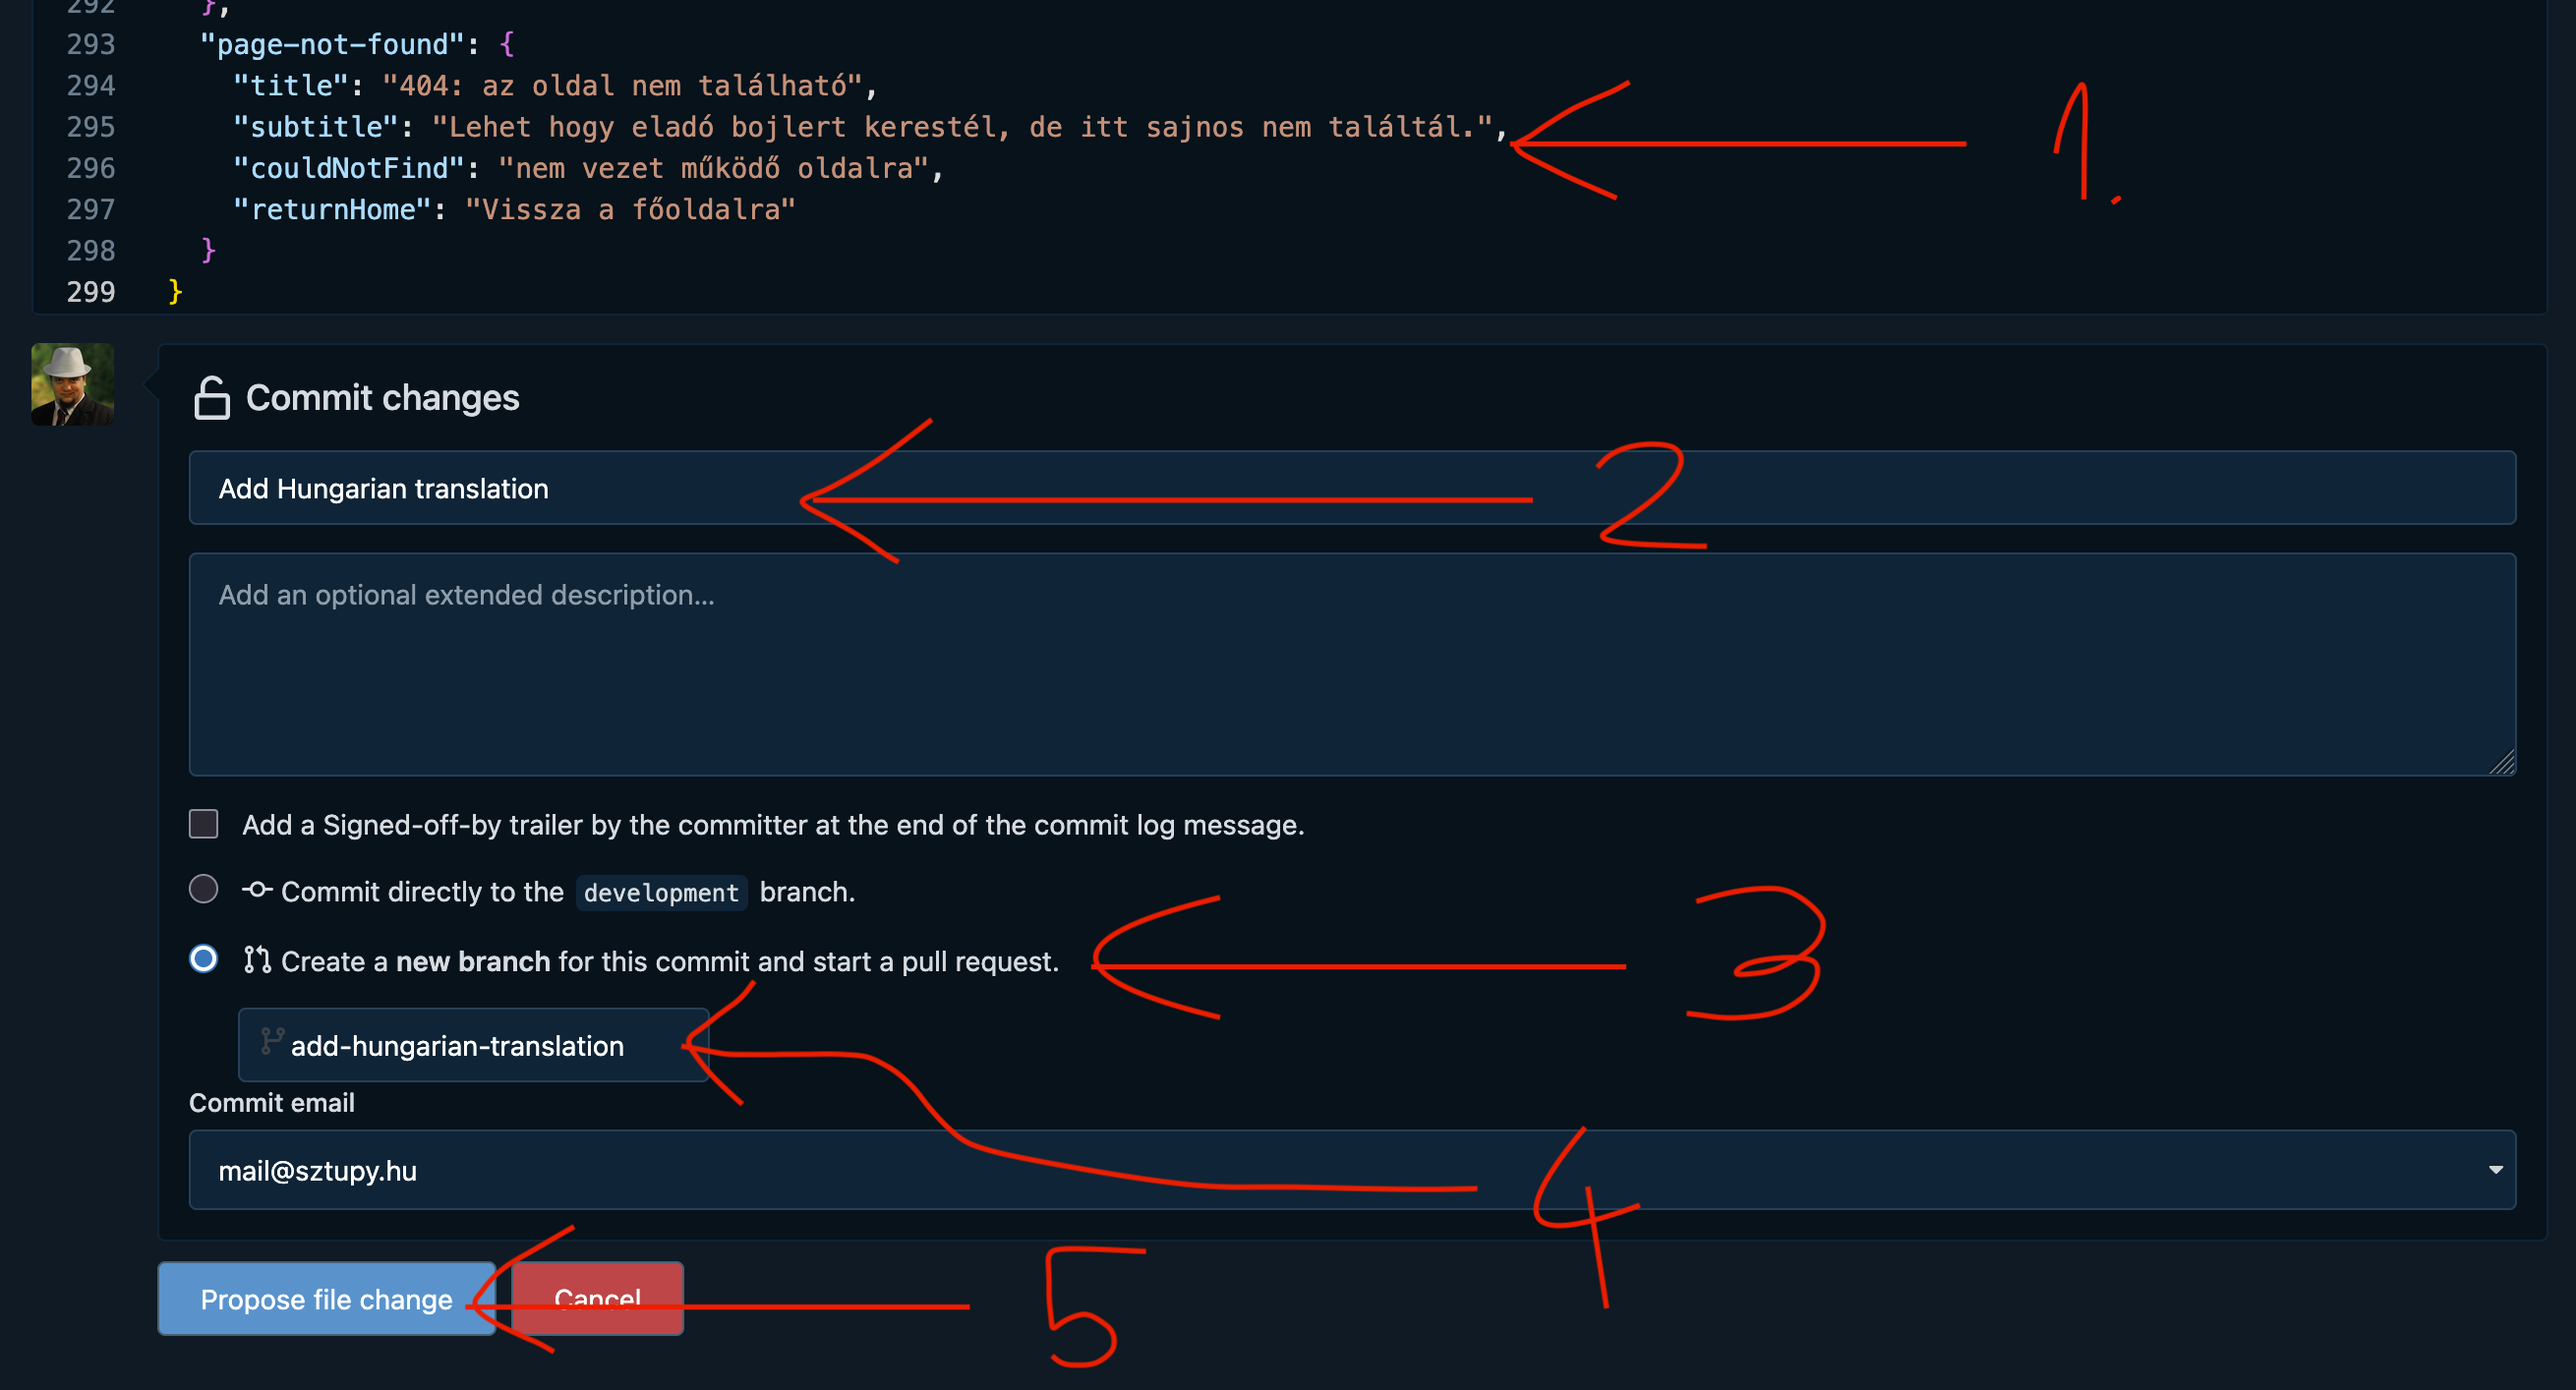
Now you can start translating!
- Change the strings to represent roughly the same content in your language.
- Once you're done, add a meaningful title to your Commit
- Select "Create a branch for this commit and start a pull request"
- Enter a meaningful name (use only lowercase letters, and use dashes instead of space, like
add-translation-hu) - Finally click the "Propose file change" button at the bottom.
-
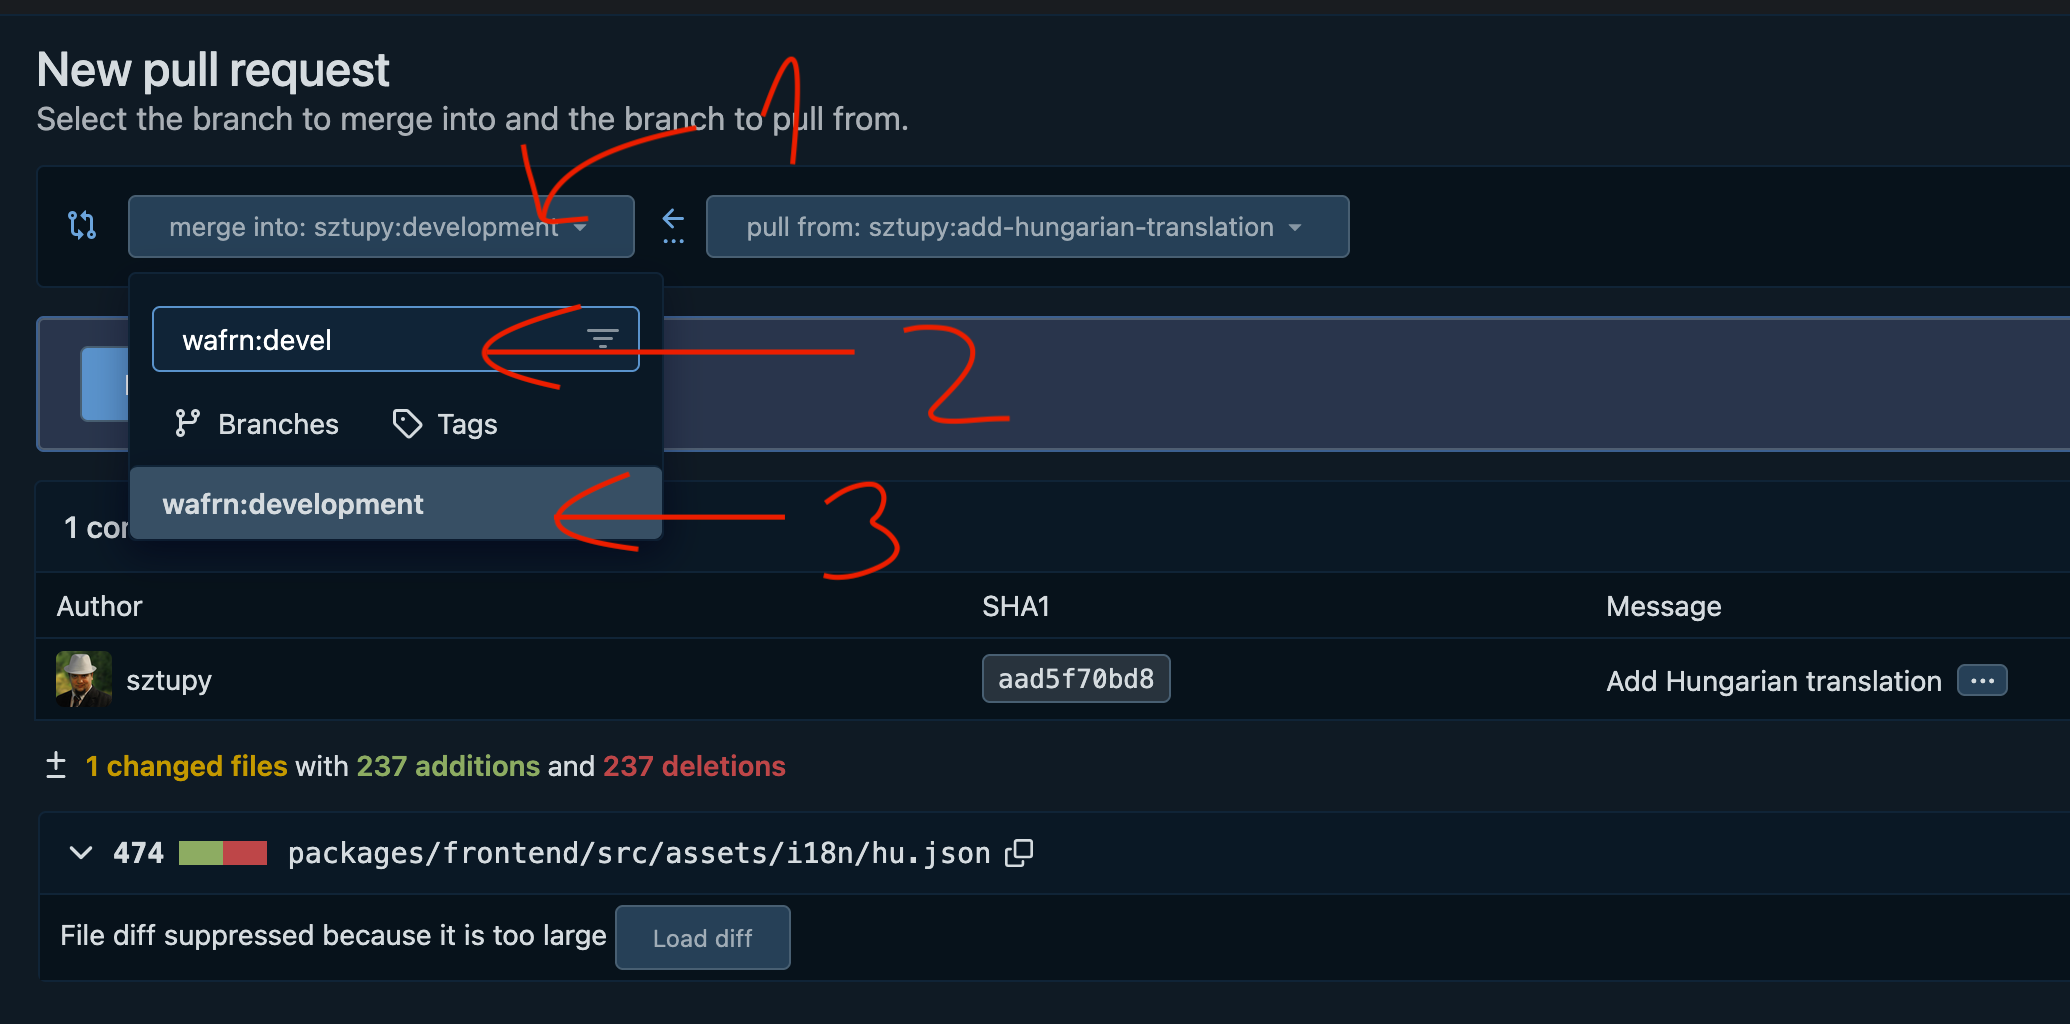
On the resulting page you'll need to set up your Pull Request.
- First select the destination button, and make sure it's pointing to
wafrn:development. - There are a lot of options usually so you might have to use the search functionality present.
- Once selected click "New pull request"
- First select the destination button, and make sure it's pointing to
-
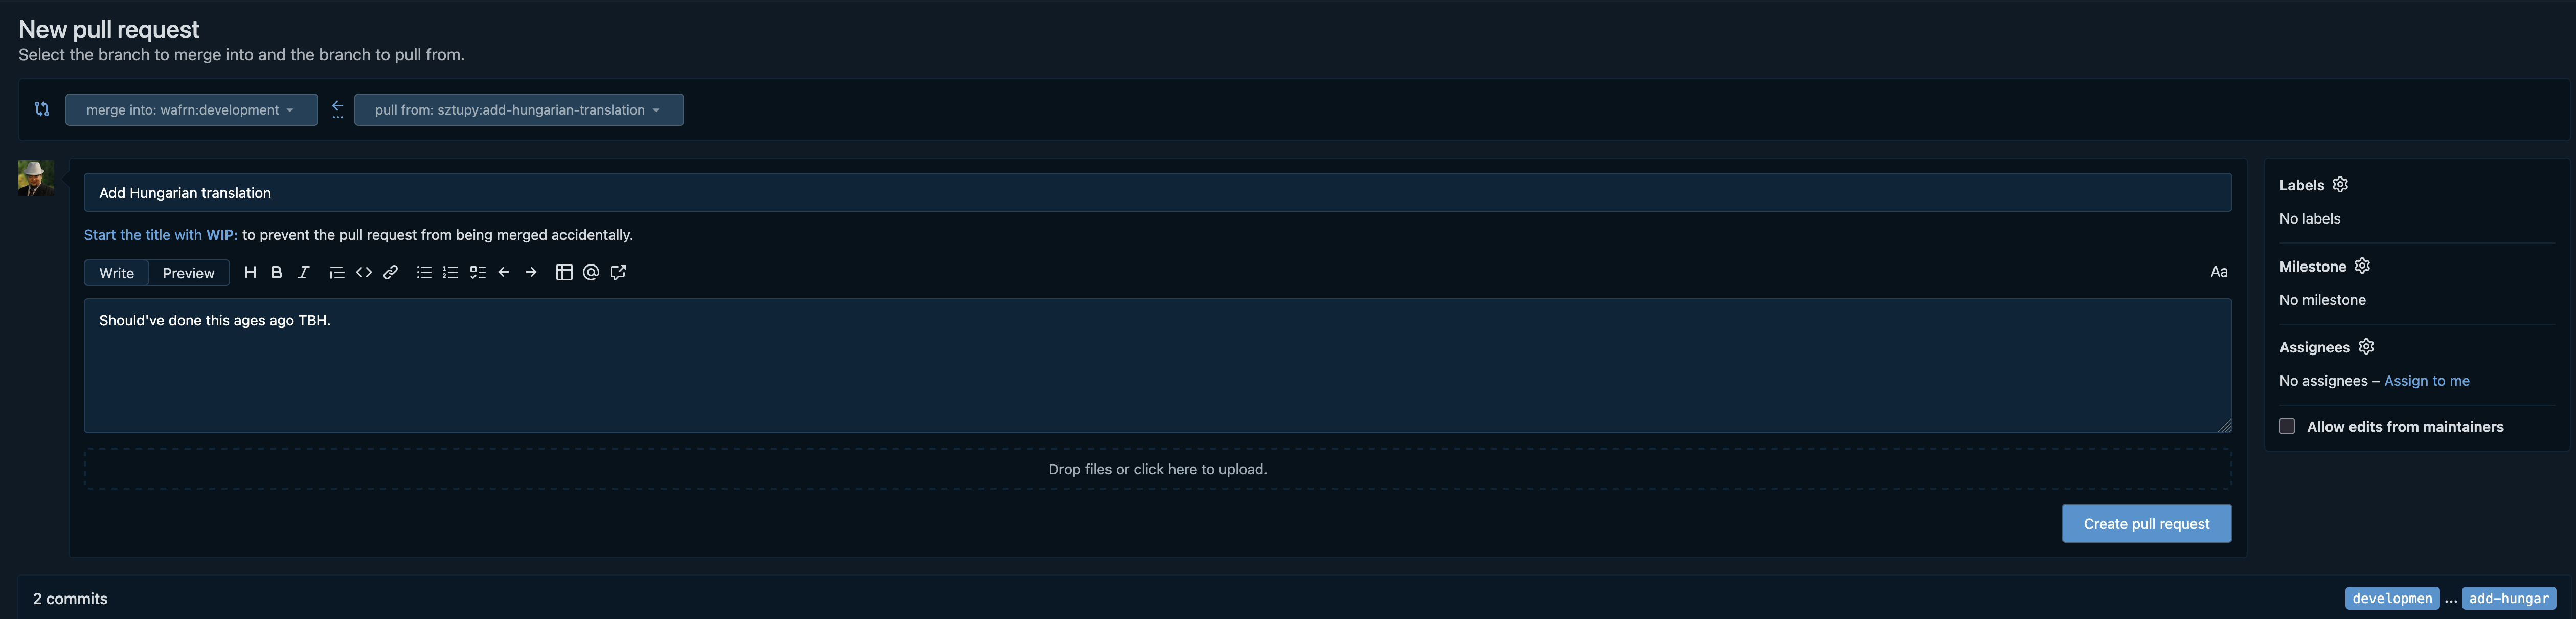
Finally enter the pull request details.
- Please use a meaningful title
- Also add any relevant details to the description box
- Once ready click on "Create pull request"
- You're done!